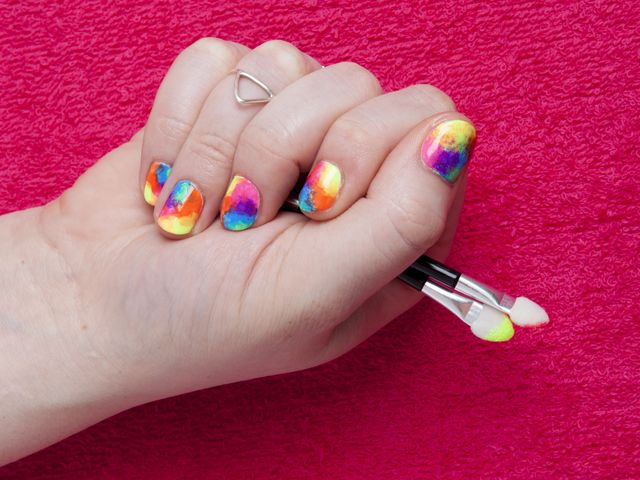
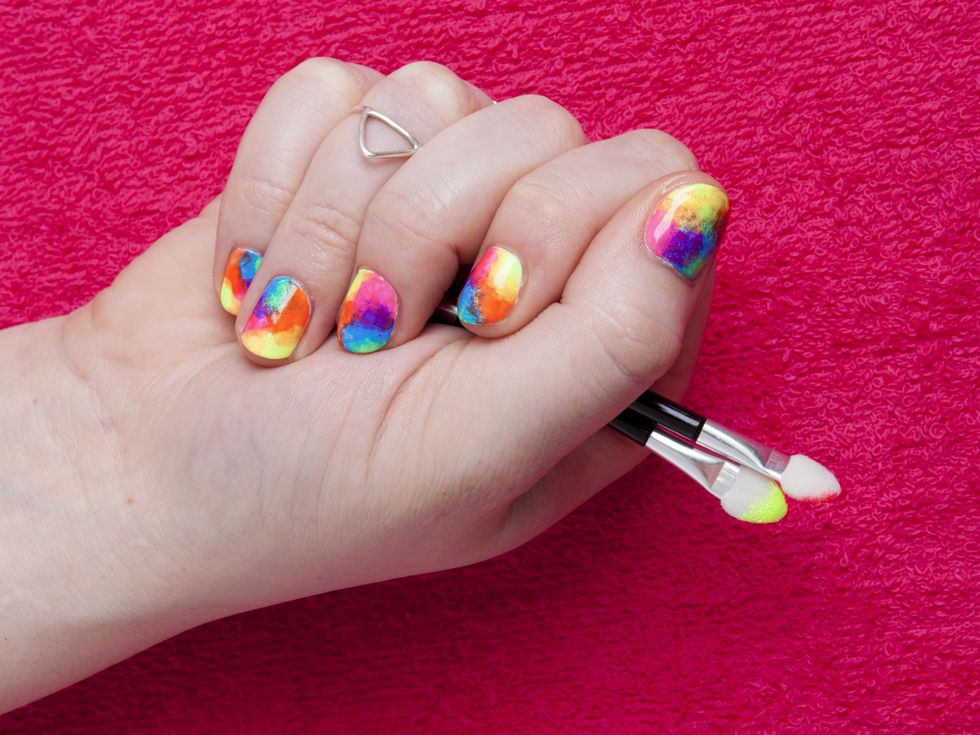
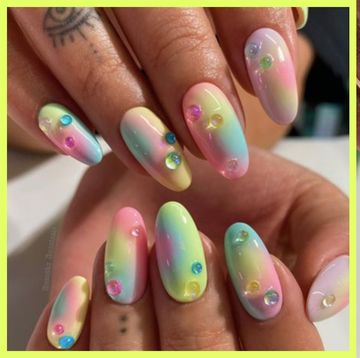
Our second of six DIY nail art tutorials (see the first one here) shows you how to create this psychedelic, festival-perfect pattern using nothing but an eyeshadow applicator. Yeah, you know those annoying little sponges you get every time you buy a new palette but never actually end up using? One of those. Follow our step-by-step pictures below and nail your new fave look in no time at all.
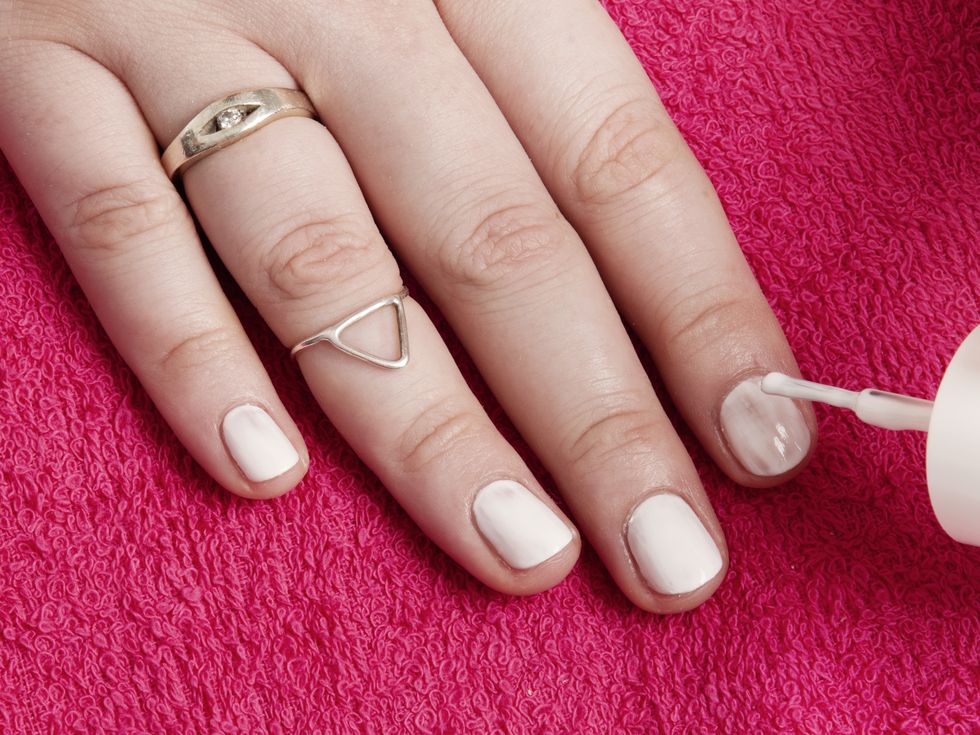
Step 1
Once you've prepped your nails and applied a base coat, paint two coats of white polish. We used Models Own in Snow White.
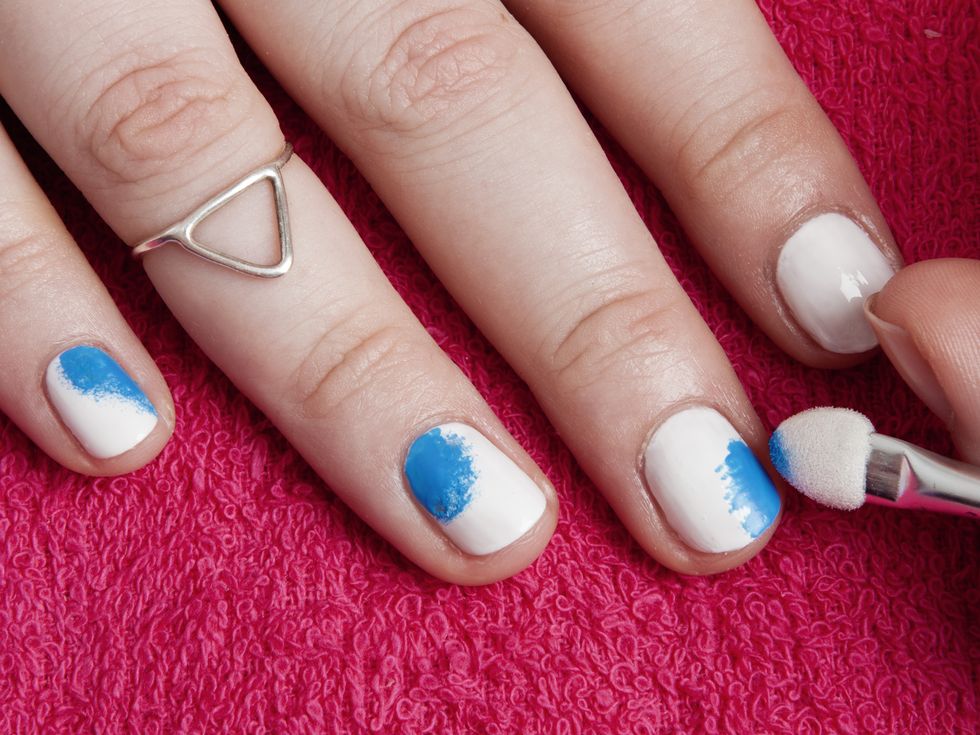
Step 2
Taking your first colour, we chose Barry M Nail Paint in Malibu, paint a small blob on each nail and then use your trusty eyeshadow applicator to gently dab the colour and blend the edges.
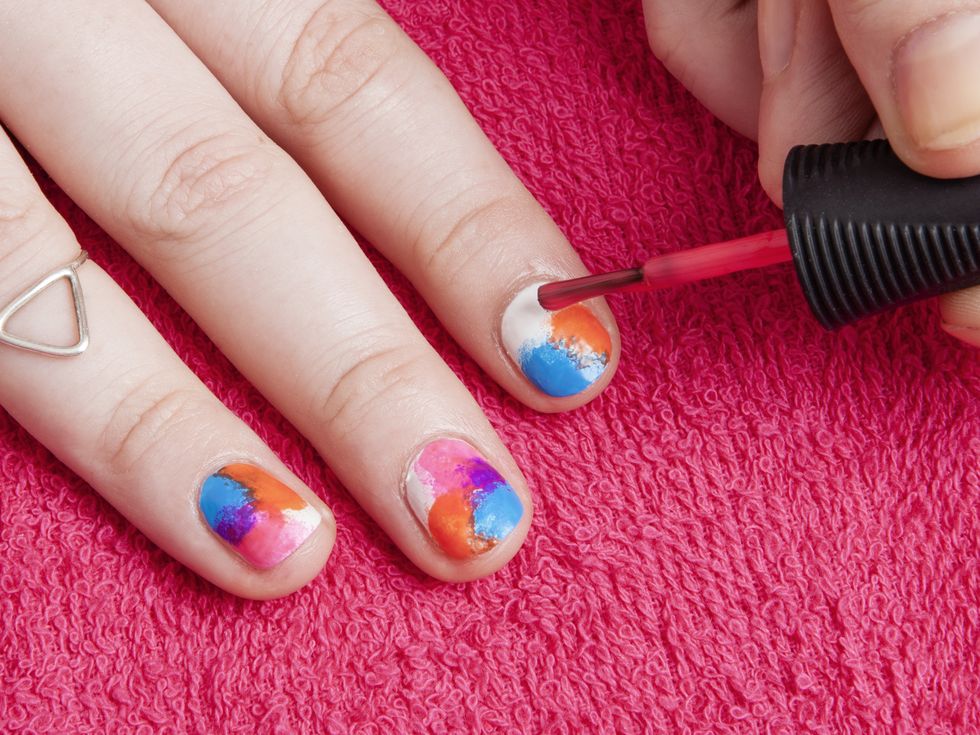
Step 3
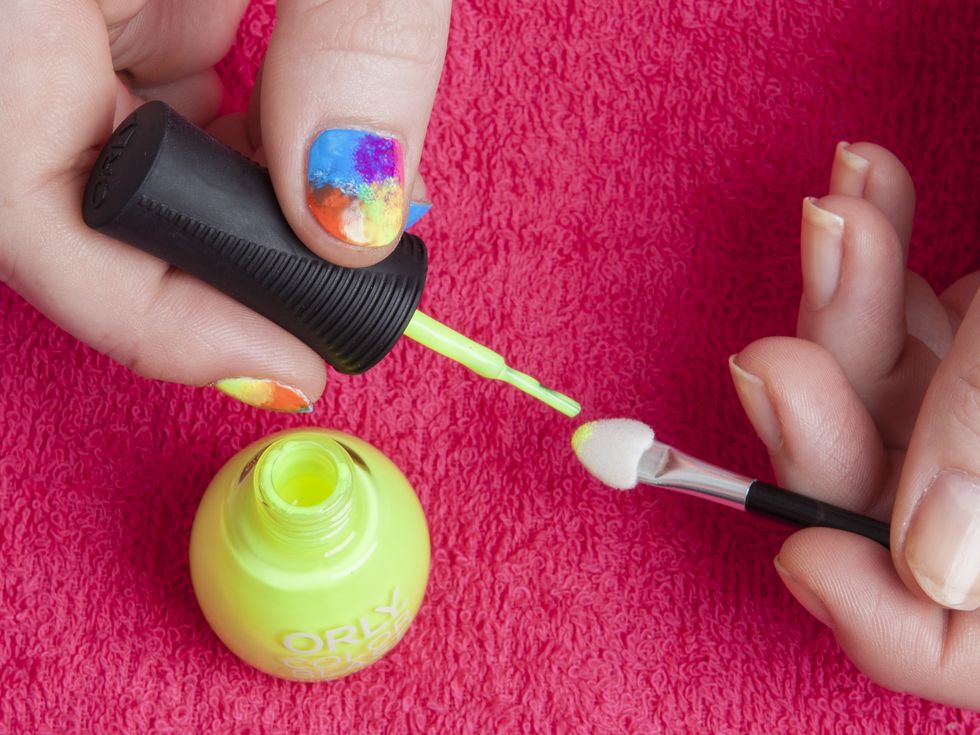
Repeat step 2 using your other colours, remembering to blend and dab the edges each time. It's best to use a clean part of the sponge for each colour, and if you can, overlap the blobs slightly so the colours mix together. The overlapping of the pink and blue polish made the purple – who knew the colour wheel stuff we learnt about in Year 7 would come in so useful?!
Step 4
Once you've covered the entire white base, go back with a splodge of bright yellow (we used ORLY Color Blast in Tennis Ball Neon) on your eyeshadow sponge over the blue to create a nice green blob.
Step 5
Finish with a glossy topcoat, et voilà! Super easy and totally dreamy psychedelic, tie-dye nails!
With thanks to Metta Francis of Nails by Mets, for more follow @NailsByMets
